3 m+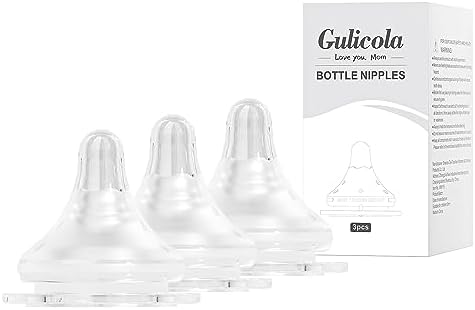
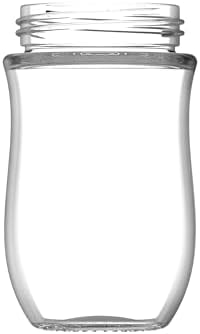
We designed our bottles to come apart into four pieces: bottle, collar, nipple, cap. No narrow inner tubes, no sixth part that hides at the back of a drawer. That decision was mostly about washing, and this note is the routine we had in mind.
Boiling water, steam sterilisers and sterilising tablets all work with our range. Glass and PPSU take repeated cycles in their stride; with PP we suggest steam over long boiling, since PP is the softest of the three and hard boiling ages it fastest. Let glass warm up with the water rather than dropping a cold bottle into a rolling boil.
Silicone wears. Retire a nipple when you see thinning or a change in colour, a tear or a bite mark anywhere, swelling or tackiness of the surface, or a flow that has visibly sped up on its own. With daily use, expect to be replacing nipples a few times a year; that is why ours come in 3-packs and why we sell replacement parts separately instead of asking you to rebuy bottles.
We make the same wide-neck bottle in three materials. Here is how we decide which one to hand a parent.
Read the note →SS to LL, Level 0 to Level 4. What the codes on our nipples mean and when we suggest moving up.
Read the note →Why our smallest bottle holds 3 oz, what the 5 oz is for, and when the big bottles earn their place.
Read the note →